
Lacto-Fermented Piccalilli or 'Indian Pickle'


This recipe is a family favourite and every time I bring out a jar of Piccalilli I’m taken straight back to the 1970’s and going to tea with my school friend; Picalilli's electrifying colour and tangy, crunchy veg transformed a cheese sandwich into something far more exotic. Dad preferred planer foods; the dull brown Brantson was his preferred pickle, so Piccalilli, or Paco-Lilla as Hannah Glasse calls it in 1758, never graced our table.
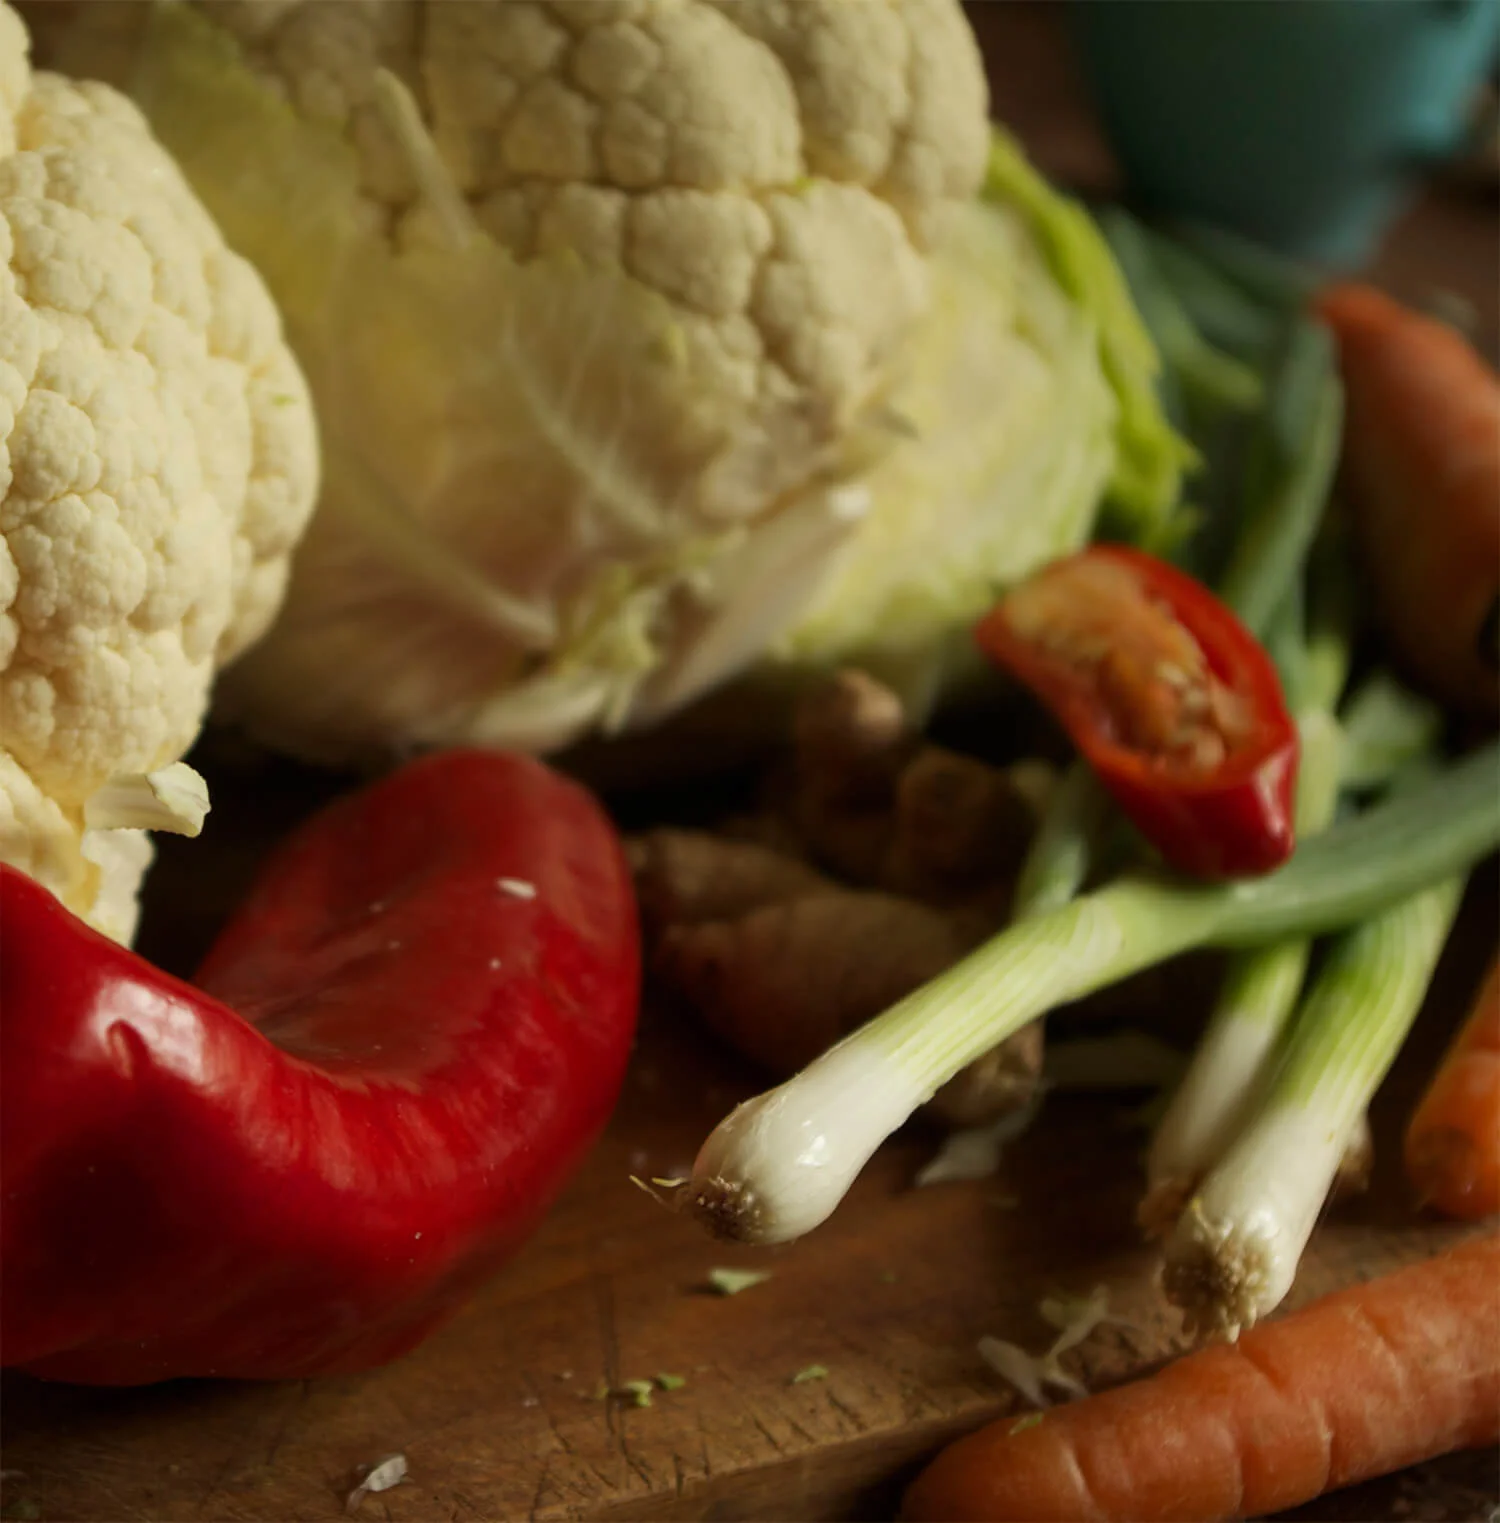
Early recipes for Piccalilli involve a familiar range of garden vegetables - cabbage, cauliflower, cucumber, French beans, combined with whatever garden fruit was to hand, along with garlic, mustard seed, turmeric, ginger and peppers - all salted, dried in the sun, salted again and covered with white wine vinegar. It was a great way to manage the Summer’s glut as you continued dropping veg and fruit into the jar as the season progressed.
My lacto-fermented Piccalilli has much of the same character as those early Indian Pickles, combining whatever veg are in season with fresh turmeric, mustard and nigella seeds. White cabbage and cauliflower remain the core ingredients around which you can improvise. I separate the cauliflower florets (a good job for small fingered helpers) rather than slice into the cauliflower (chopping up the stalky bits left over and adding them too) and dice the red pepper and carrots quite small; I like to imagine how it will look on the plate and aim for a pleasing palette of shapes and colours rather than a whizzed-up mush. There’s none of the sugar or vinegar you’ll find in shop bought Piccalilli, and I think you’ll soon get the taste for this crunchy, sour alternative.
If you can, choose local pesticide free veg as pesticides interfere with fermentation - they kill bacteria obviously - and we want ours to grow! If you can’t find pesticide free veg remove some of the outer leaves of your cabbage and wash your veg well first.
You’ll need a 1 litre kilner jar
WARNING! If you want to save your nice chopping board ( and hands) from staining grate the turmeric onto a plate and add it right at the end after all the other ingredients and mix with a spoon.
Ingredients
1 large or 2 small hard white cabbage, thinly sliced apart from one reserved outer leaf and the end part of the stalk (you will use these to keep the veg under the salty brine)
1 cauliflower, florets separated and stalk and inner leaves chopped small
4 or 5 carrots, in small dice
1 bunch spring onion, chopped including all the green
1 small red pepper, in small dice
Half a red chilli, de-seeded and chopped fine
2 teaspoons of yellow mustard seed
2 or 3 turmeric roots - freshly grated, no need to peel if organic
1 teaspoon nigella seed (also called black onion seed)
2 teaspoons rock or sea salt - or salt enough to taste salty but not not inedible
You can also add any other seasonal veg - courgettes grated, French beans chopped small. Experiment!
Instructions
In a large bowl put the sliced cabbage and sprinkle with the salt to get the juices running. Give the cabbage a good scrunch with your hands - I do a movement that’s like I’m kneading bread - until the juices are running freely. Add all the other veg as you prep them mixing them in with your hands. Check the salt by tasting - it should taste like a salty packet of crisps - then add all the other spices and the turmeric last. Give it all a good mix.
Pack your veg into the clean kilner jar pressing down every handful with your knuckles to exclude all the air you can. You’ll see the bubbles coming up and the juices will gradually seep up the jar, until when you reach the base of the shoulder of the jar and press down there should be a good pool of bright yellow juice. Don’t be tempted to over-fill your jar - anything left over can go into a jam jar or small kilner jar. Take your reserved cabbage leaf and fold it up like a shower cap and place this on the top of the veg in the jar. Trim the stalk end so it fits the opening of the jar easily and put this on top of the leaf and press down and close the jar. The downward pressure of the stalk end should press all the veg down and you should see the juices cover the veg under the stalk.
Put your jar on a saucer or in a plastic food box and place in a warm place out of direct sunlight (UV kills bacteria) It’s a good idea to place it somewhere you’ll see it every day so you can keep an eye on what’s happening. This way you’ll become familiar with the hissing and bubbling of your ferment as it gets going. The rubber ring of the kilner jar allows the carbon dioxide that’s produced during fermentation to escape safely and it may bring some of the juices with it - hence the importance of the saucer. After a week or so there will be no more escaping juice and gas as the fermentation moves into a quieter phase and you can dispense with the saucer. Don’t be tempted to put the juice back in the jar! If you had a bit of veg left over and put it in a jam jar with a lid you‘ll need to burp your jar - just release the lid every day for the first week to let the gas out.