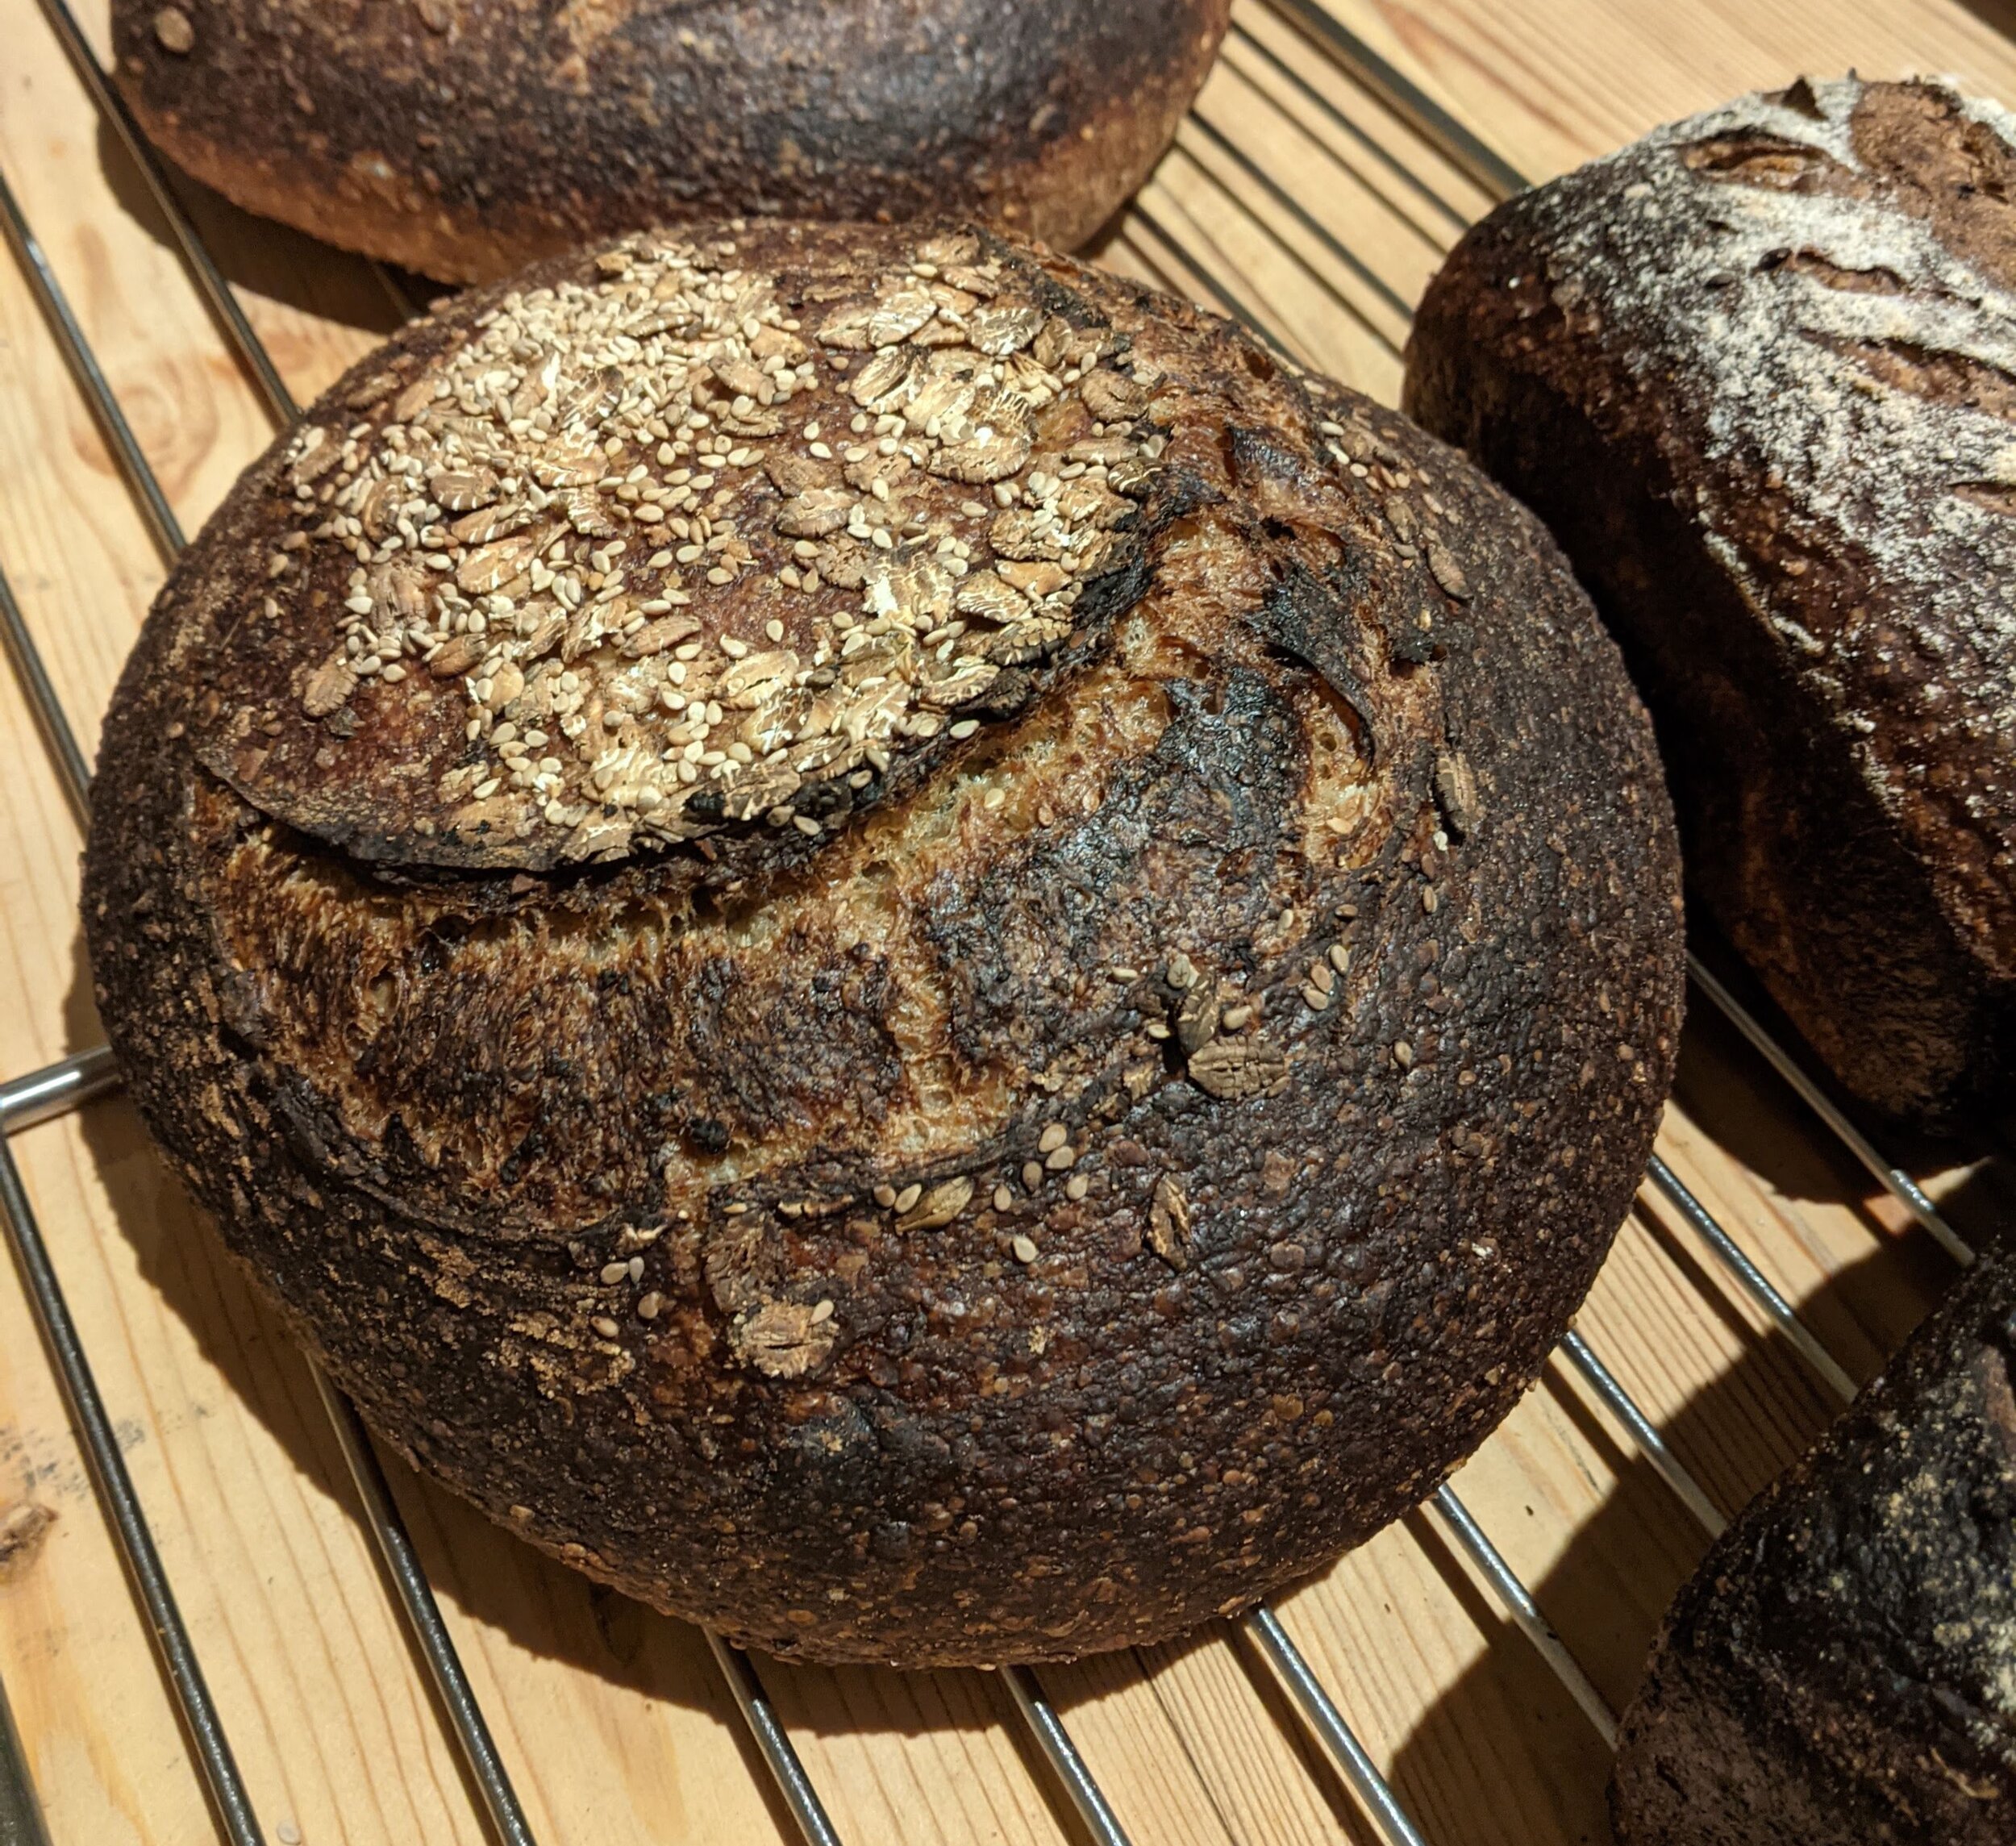
Barley Porridge Loaf
Many of you ask me about baking porridge loaves as you enjoyed them from our online shop. Now I’m not baking professionally I am doing a weekly bake at home to supply us with bread and this is the loaf I am making. It lasts all week and I can still make sandwiches with it on the 5th day! As I am making this loaf at home, it’s using the ingredients I have here but you can adapt them depending on what you have.
This recipe celebrates quality ingredients from British producers. Glichesters stoneground flour and Hodmedods barley flakes and fermented wholegrain barley (you may recognise Hodmedods from our online shop!). Don’t worry if you don’t have these exact ingredients remember bread recipes are adaptable, when I first made this I just threw all the ingredients in basing the recipe on 1kg of flour. Swap the barley flakes for oats, sesame for linseed or omit the fermented wholegrain barley.
Additional Water
As I make clear in all my classes, make bread that you want to eat. Only up the hydration if you feel confident handling the dough, the porridge in this dough makes a super moist crumb without the extra water. I add a little at a time, 10-30g and I encourage you to do the same, only adding as you feel the dough needs it. Remember different flour has different water absorption and less is more - stick to the lower amount of extra water if you’re unsure.
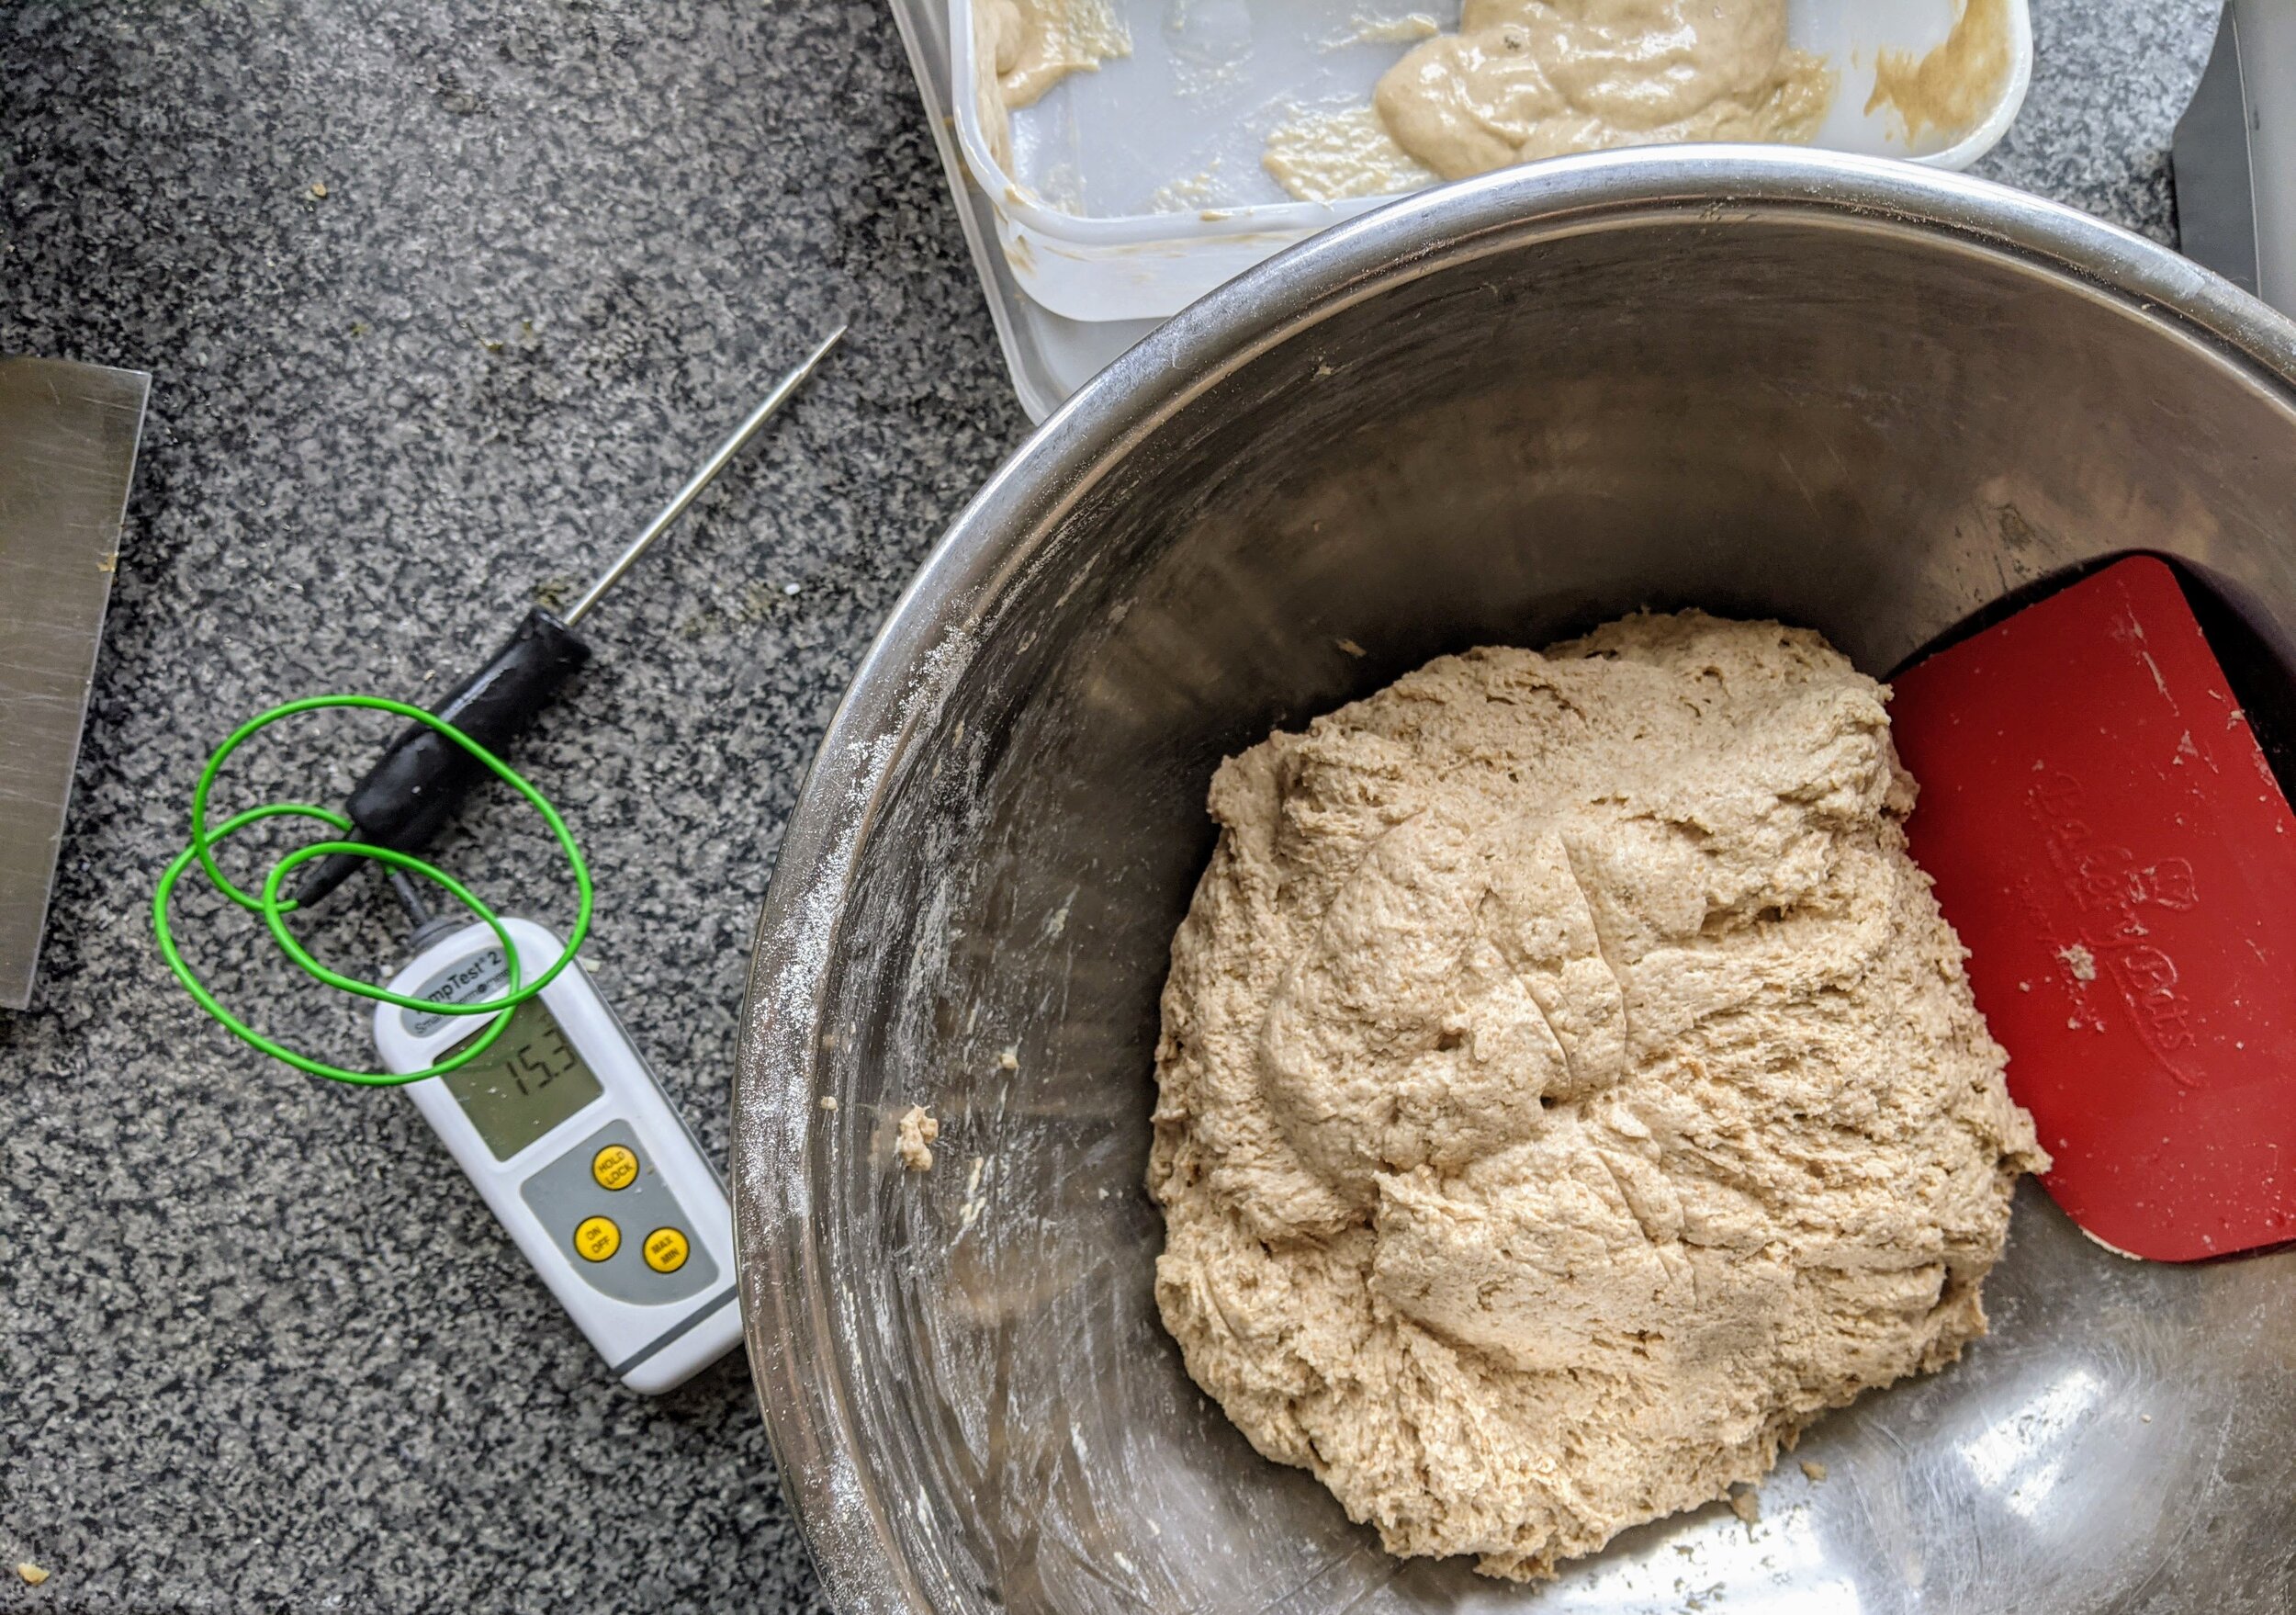
Water Temperatures
Controlling the temperature of your water is the easiest way to control the temperature of your dough. For anyone who has been on one of my classes, the main bit of advice I give is use cooler water in summer and warmer water in winter. I don’t like giving exact temperatures as everyone’s baking environment is different. Remember if your kitchen is very warm and that’s where your starter and flour live you’ll need cold water to bring down the average temperature of the dough. In the peak of summer I use tap cold water (e.g 14C) and in winter blood temperature water (e.g 37C).
This recipe is for anyone who makes sourdough bread regularly.
Ingredients
Gilchesters unbleached white 500g
Gilchesters wholemeal wheat 500g
Water 700g
Starter 200g
Additional water 80g
Salt 20g
Barley flakes 150g
Sesame seeds 80g
Soaking water 400g
Fermented wholegrain barley 40g
TOTAL 2670g
This recipe makes two large (900g) free form loaves and two small (450g) tinned loaves. You can divide the dough up however you wish, it will make three 900g or six 450g loaves.
Method
The evening before you want to make bread…
Feed the starter your normal way to produce 200g. I feed mine 10g starter, 100g wholemeal flour, 100g water.
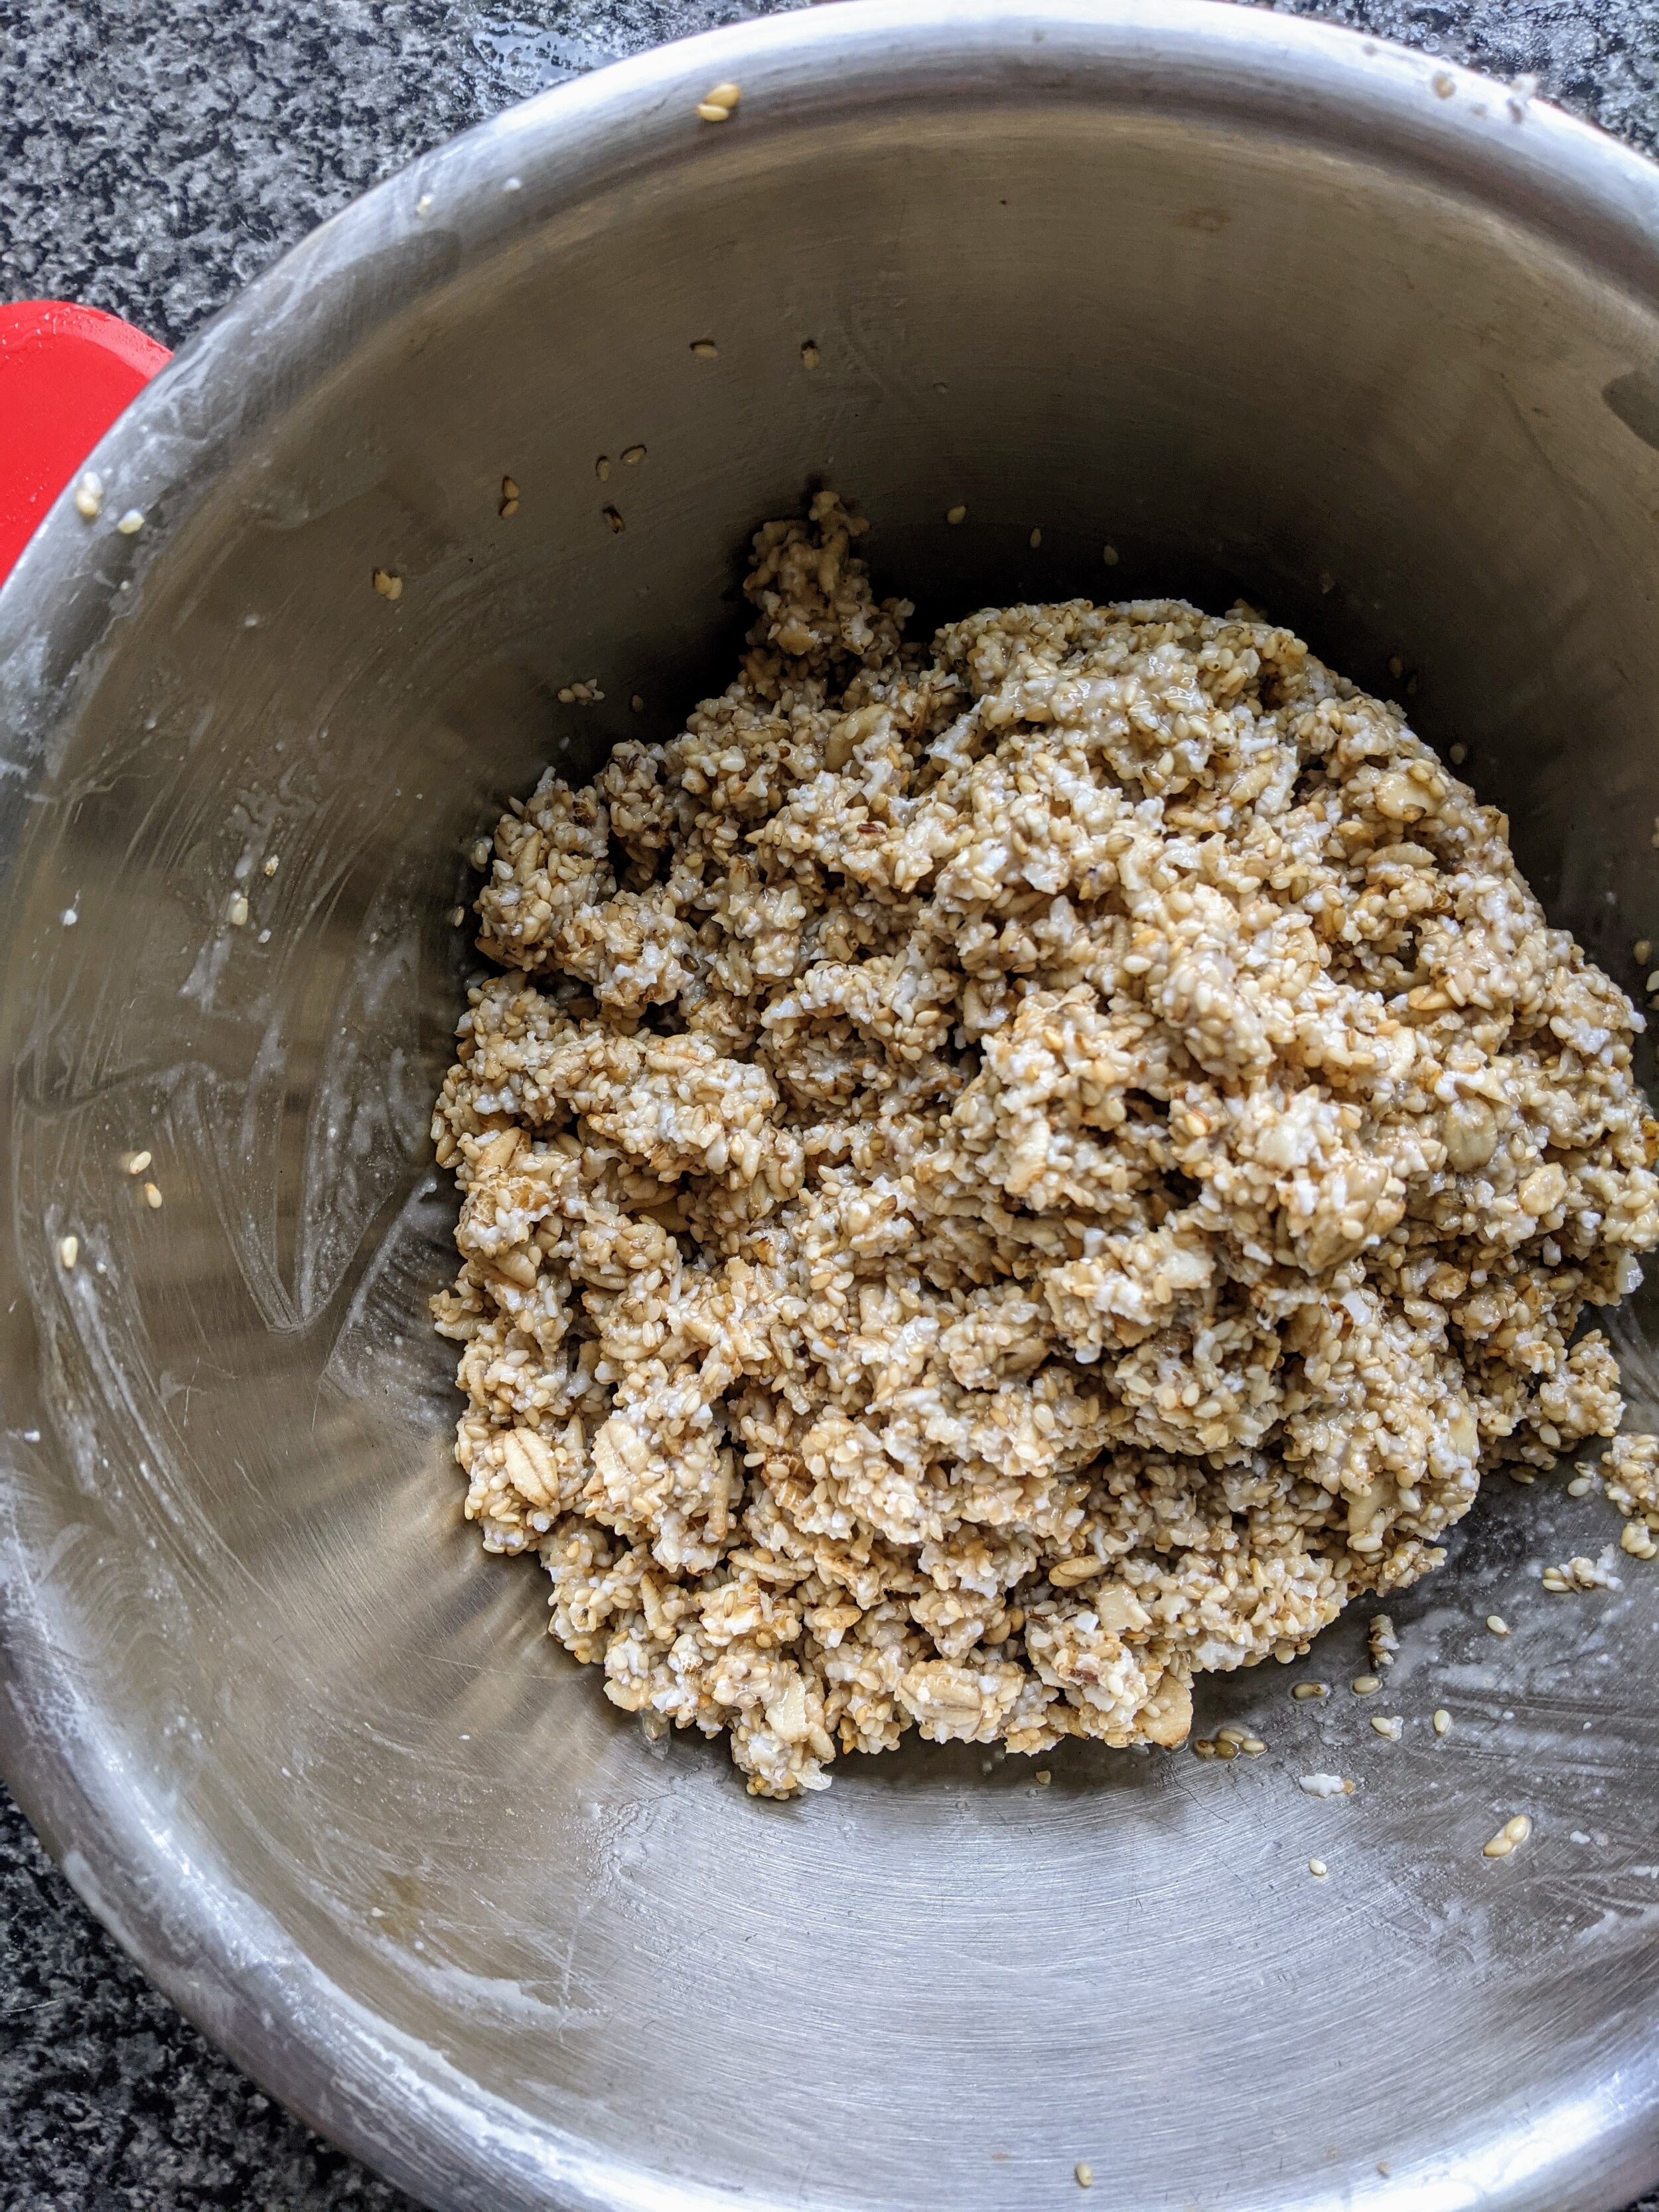
Stiffer starters will also work fine in this recipe.To make the soaker porridge: weigh out barley flakes and sesame seeds into a bowl and pour over the cold soaking water. Cover and leave overnight.
Mix the flour, water and starter in a large bowl until combined and there are no dry bits. Leave to autolyse for 30 minutes.
Add the salt and 20g of additional water (if using). Mix the dough for 5 mins making sure all the salt is incorporated and well distributed. Rest for 10-15 minutes.
If adding additional water I suggest mixing in another 10-30g after 10 mins rest. Rest again for 10 mins then add the last 10-30g depending how the dough feels. Make sure to rest the dough another 10-15 mins before adding the porridge.
The dough will mix easier and build better strength if you allow the gluten to relax in between each mix.Add the fermented wholegrain barley to the barley sesame soaker porridge and mix together. Add the porridge to the dough and squeeze through to make sure evenly incorporated.
Bulk ferment the dough for 2-6 hours (depending on dough and room temperature). Aim to do at least 4-6 stretch and folds in this time. I do mine every 20-30 mins for the first couple hours so my dough has a good rest before shaping.
When the dough is ready to shape it should be light and gassy and grown in size. Due to the porridge in this dough it may feel a bit heavier and denser than your normal sourdough. Divide dough into large or small loaves (I do 2 large 900g and 2 small 450g) and pre-shape into light rounds. Rest for 30-60 minutes.
Remember this is a wet dough therefore the tension may feel light, try not to over work the dough - if you do leave it and then re-shape after 20 minutes.Prep your proving basket or oil tins. For my free form loaves I sprinkle barley flakes and sesame seeds in the baskets or bannetons - if you’re worried about sticking sprinkle a little flour first then flakes and seeds. Final shape loaves.
Leave to prove - this will vary on temperatures and how the dough has developed. If you want to fridge your dough overnight I suggest leaving ambient for up to an hour. It is much easier to prove a little before cooling the dough and then bake straight from the fridge the next day.
When ready to bake heat your oven to 240C and pre-heat your preferred baking equipment. You can use a dutch oven, baking stone or steel or just a tray.
The way you bake your loaves is very personal, depending on the equipment you have handy and how you like your crust. I use a dutch oven for my free form loaves and put tinned loaves on a hot tray, loading hot water for steam in a separate tray. I like to bake hot, creating a dark crisp crust. Use the bake times you are familiar with - everyone’s home oven and personal tastes will be a bit different.Score the loaves and load in the oven, add water for steam if needed. Bake loaves for 35-45 minutes, the small loaves may only take 25 minutes. Make sure to take the dutch oven lid off about half way through baking to help the crust colour. I drop the temp to 220C after 15 mins.
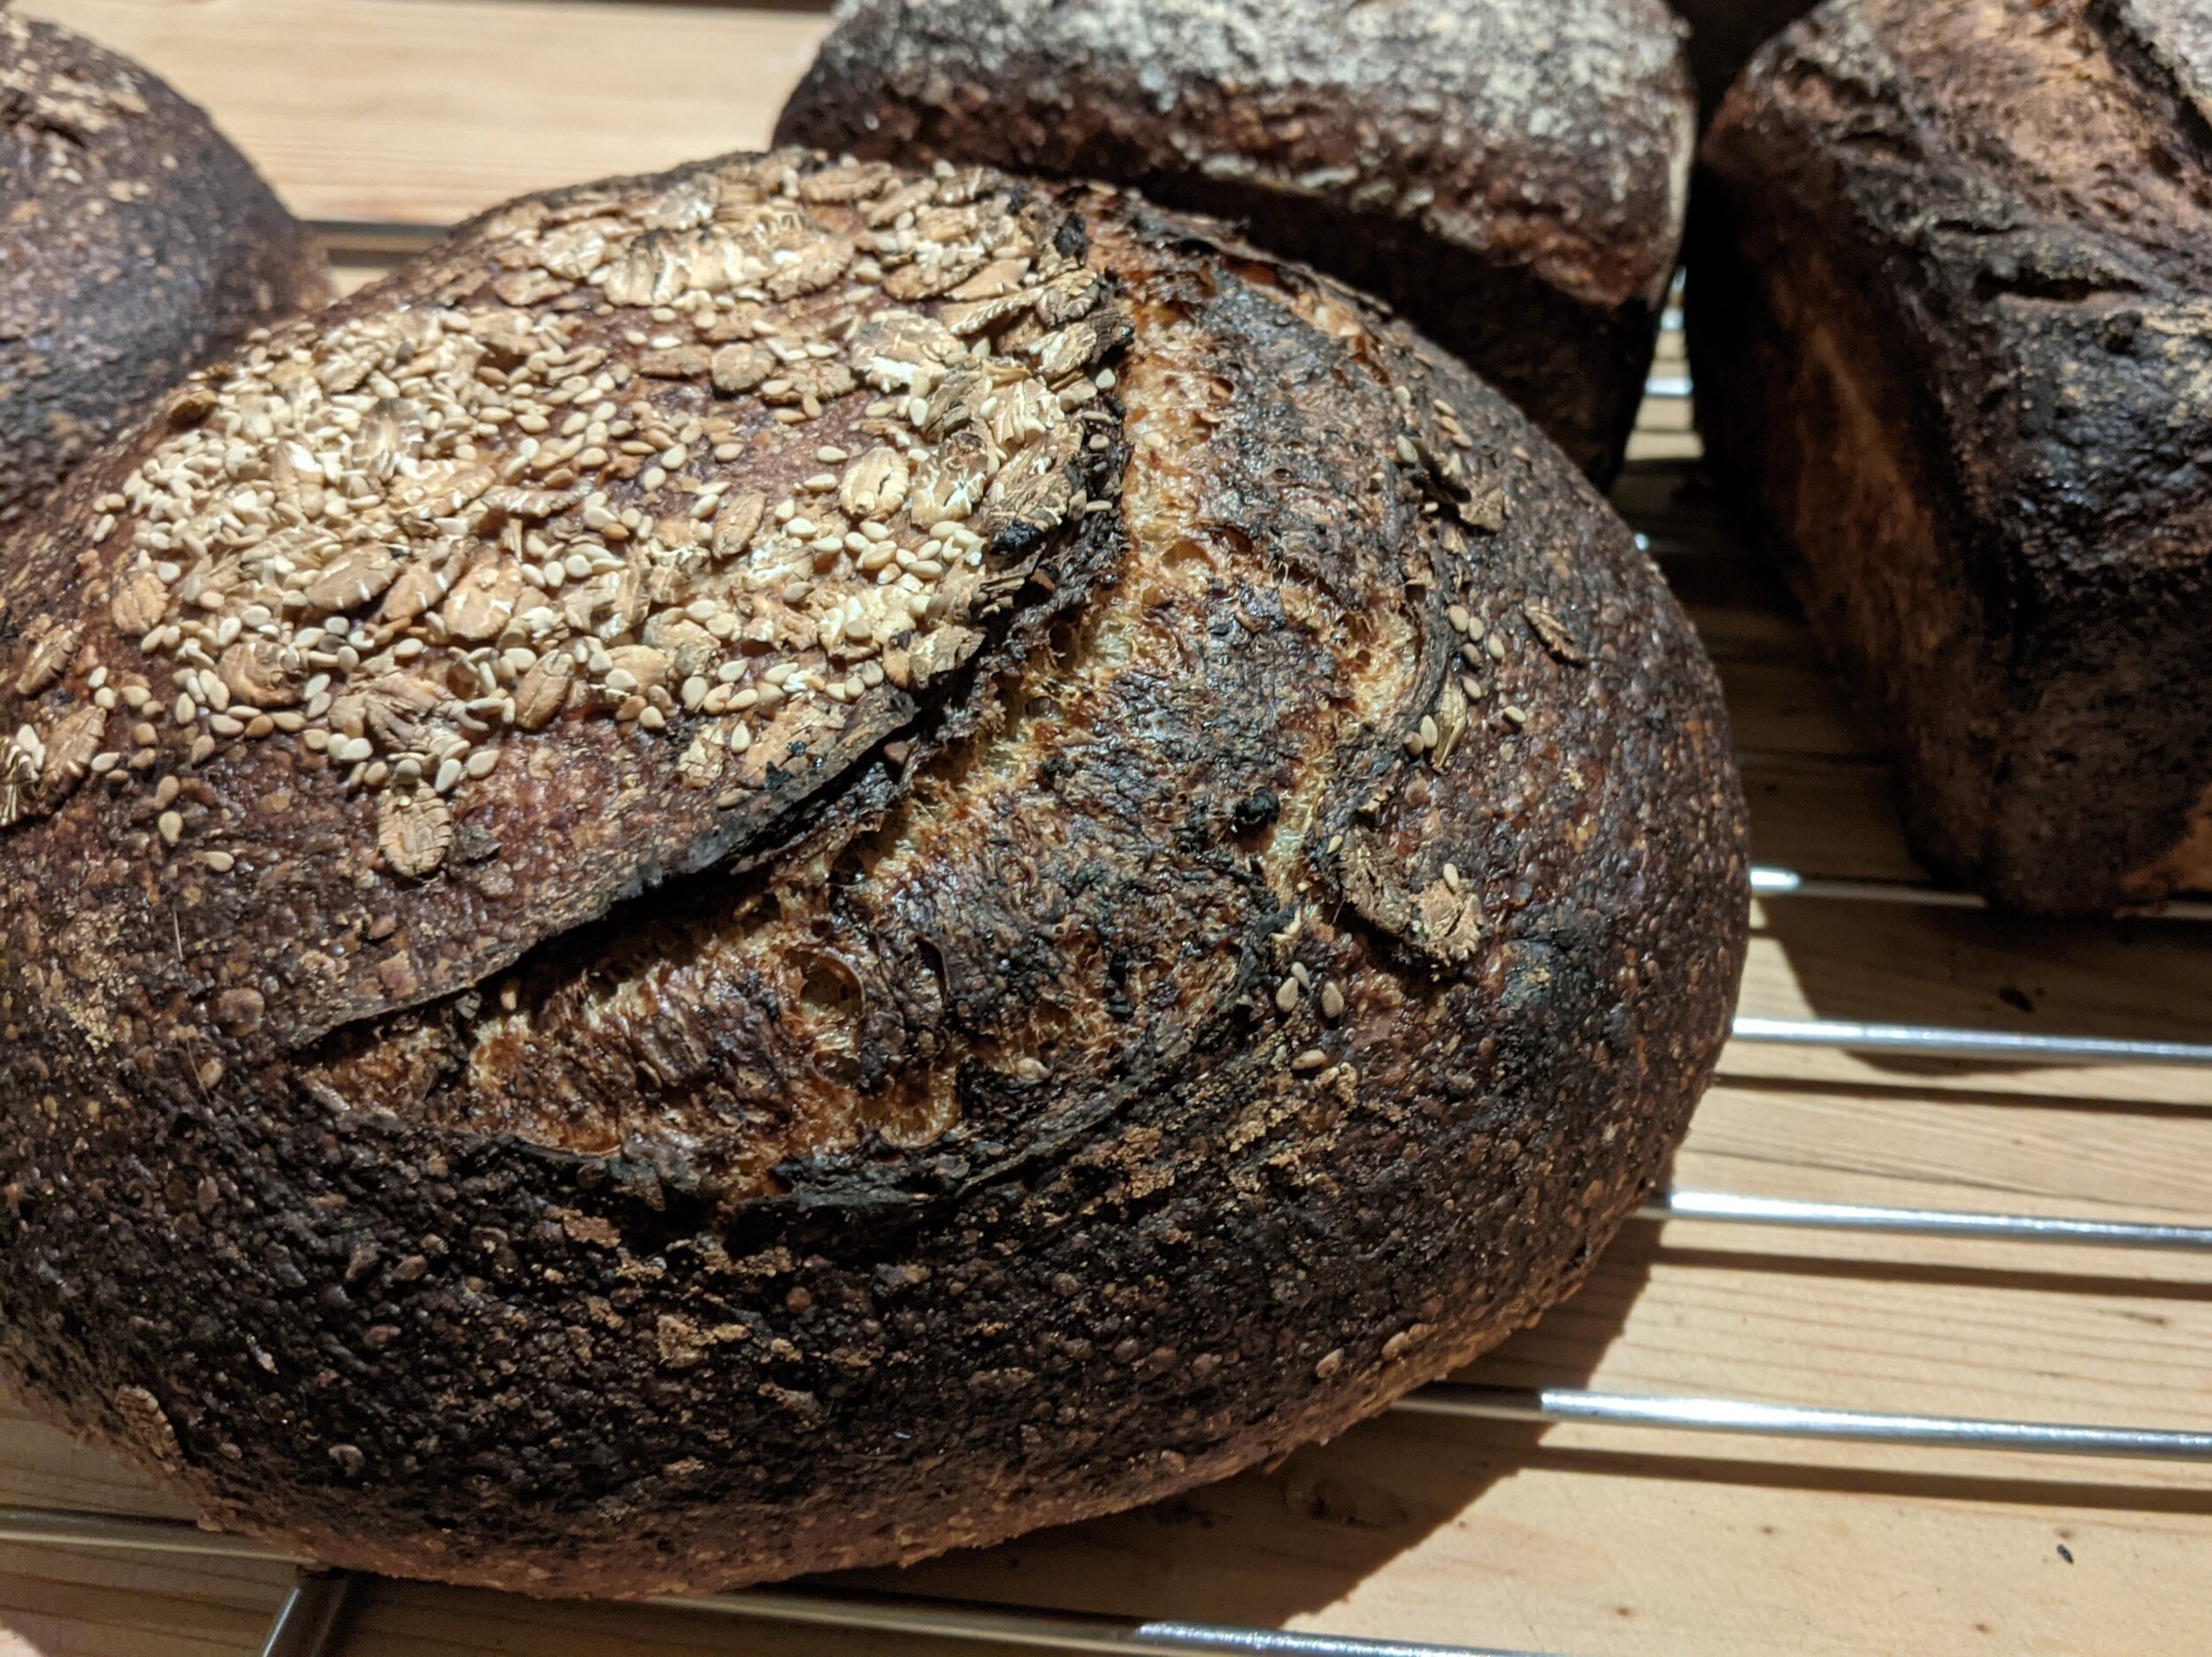
Leave to cool before cutting into (if you can!). Enjoy!
Fleur is offering online 1:1 troubleshooting sessions via zoom if you have anymore questions.