
How to make Sauerkraut


Starting to make healthy fermented vegetables and drinks isn’t difficult, although my first attempt was a disaster.
To help you avoid my mistakes and make your first batch, follow these simple steps to make delicious sauerkraut.
Ingredients:
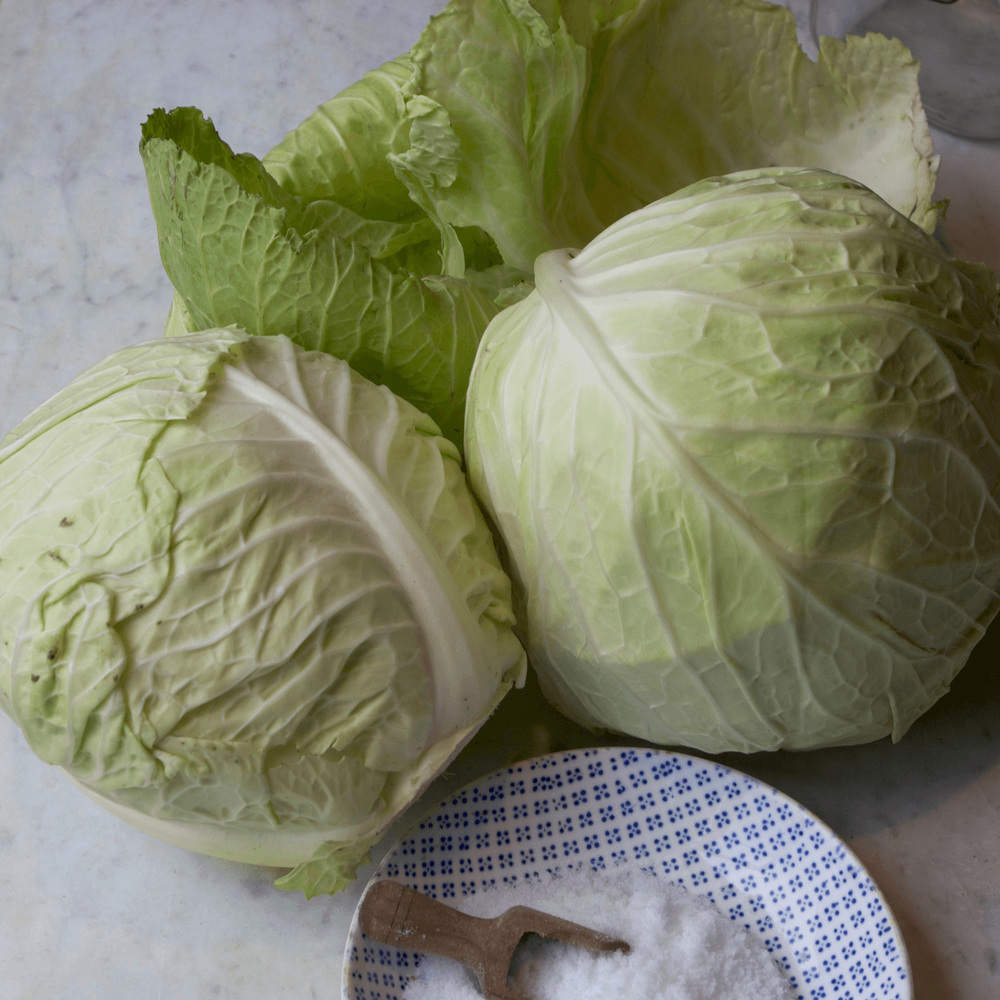
One hard, round or pointy cabbage (which ever is in season)
Sea salt (not iodised pouring salt)
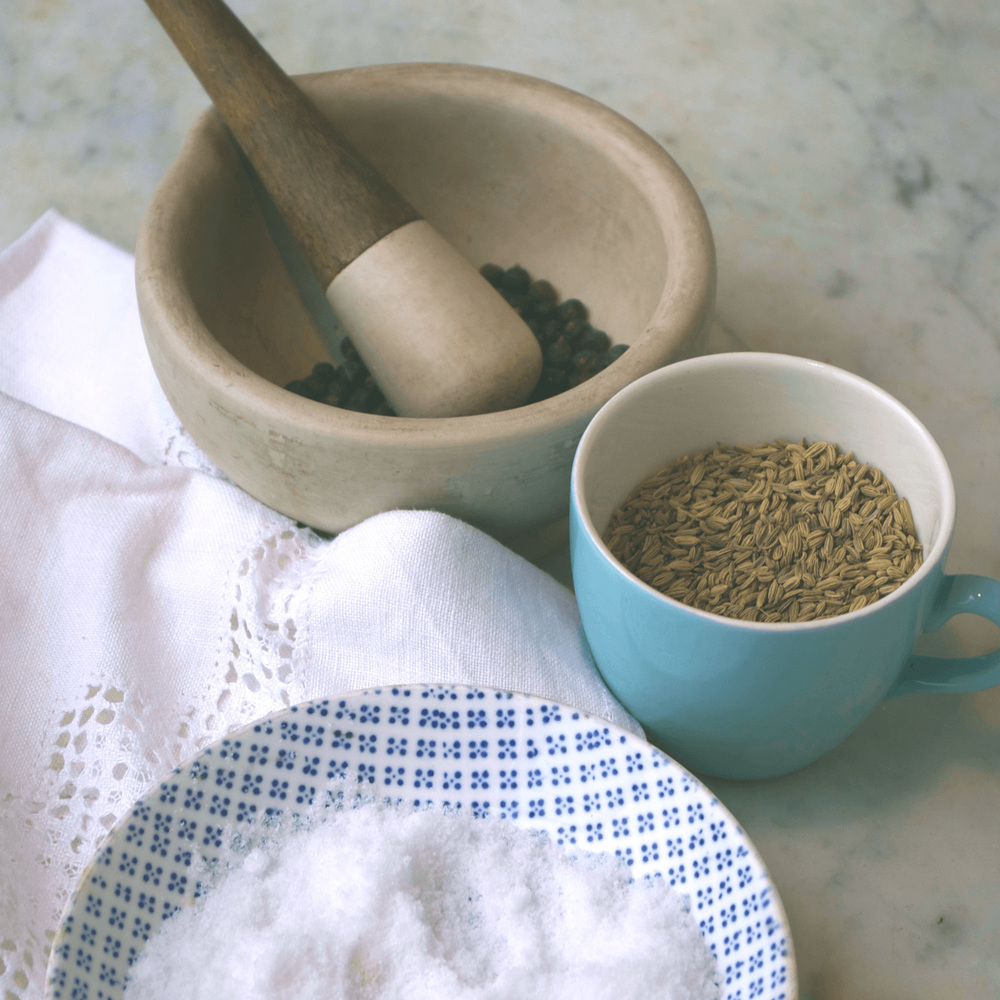
Caraway seeds, fennel seeds, juniper berries or coriander seeds – any flavourings you like.
Equipment: Chopping knife, Chopping board, Large stainless-steel bowl, Kilner-style jar
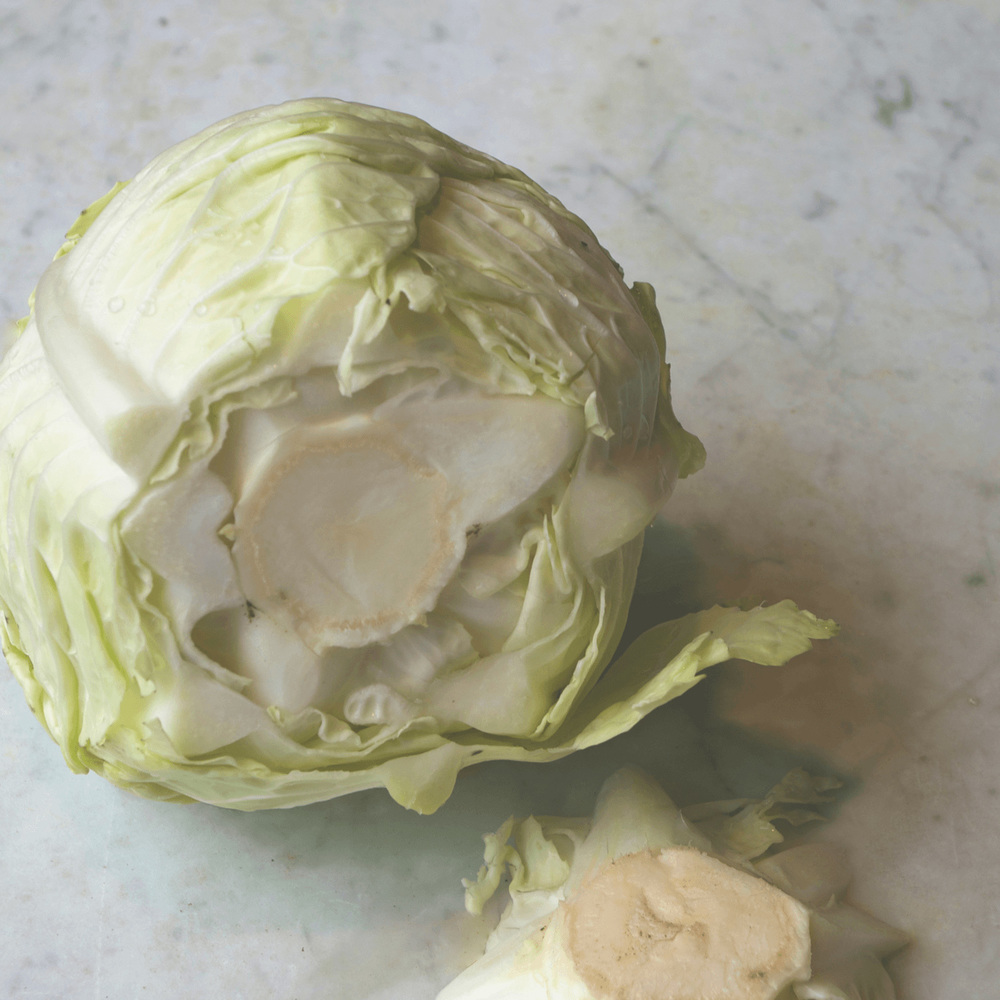
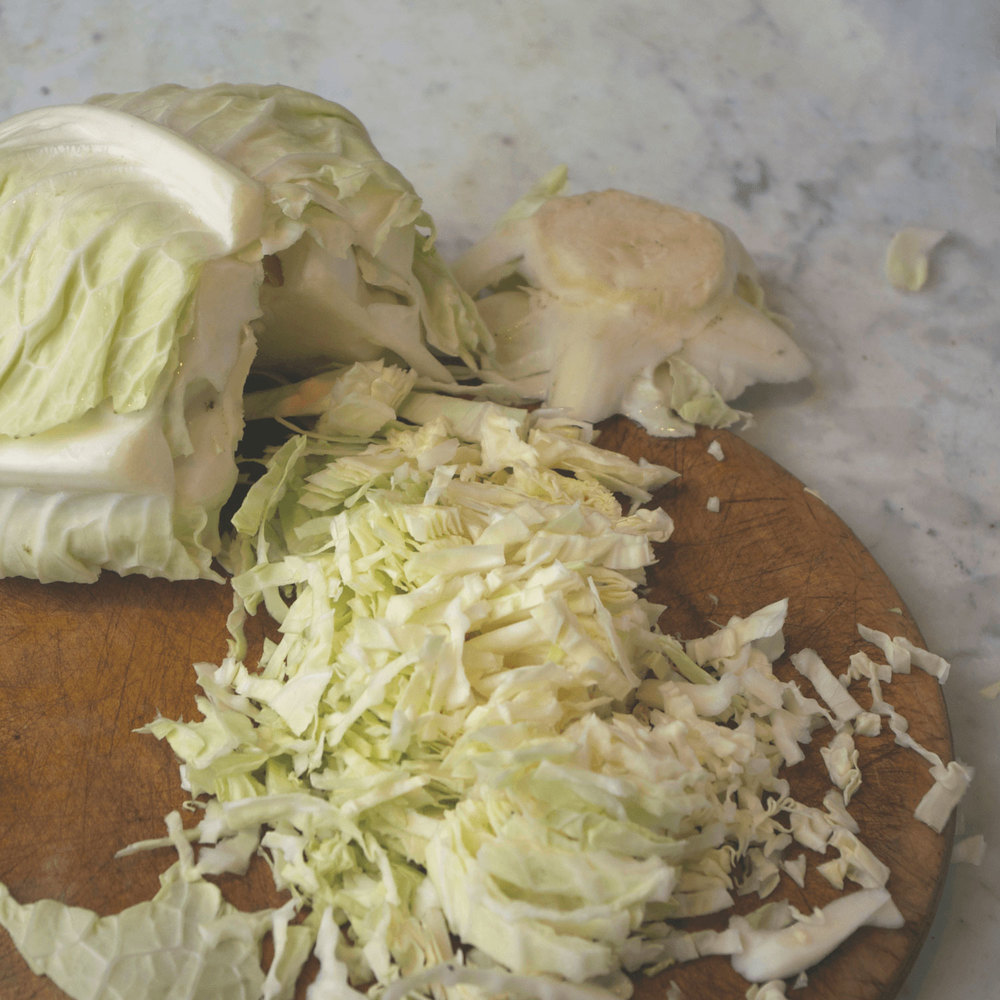
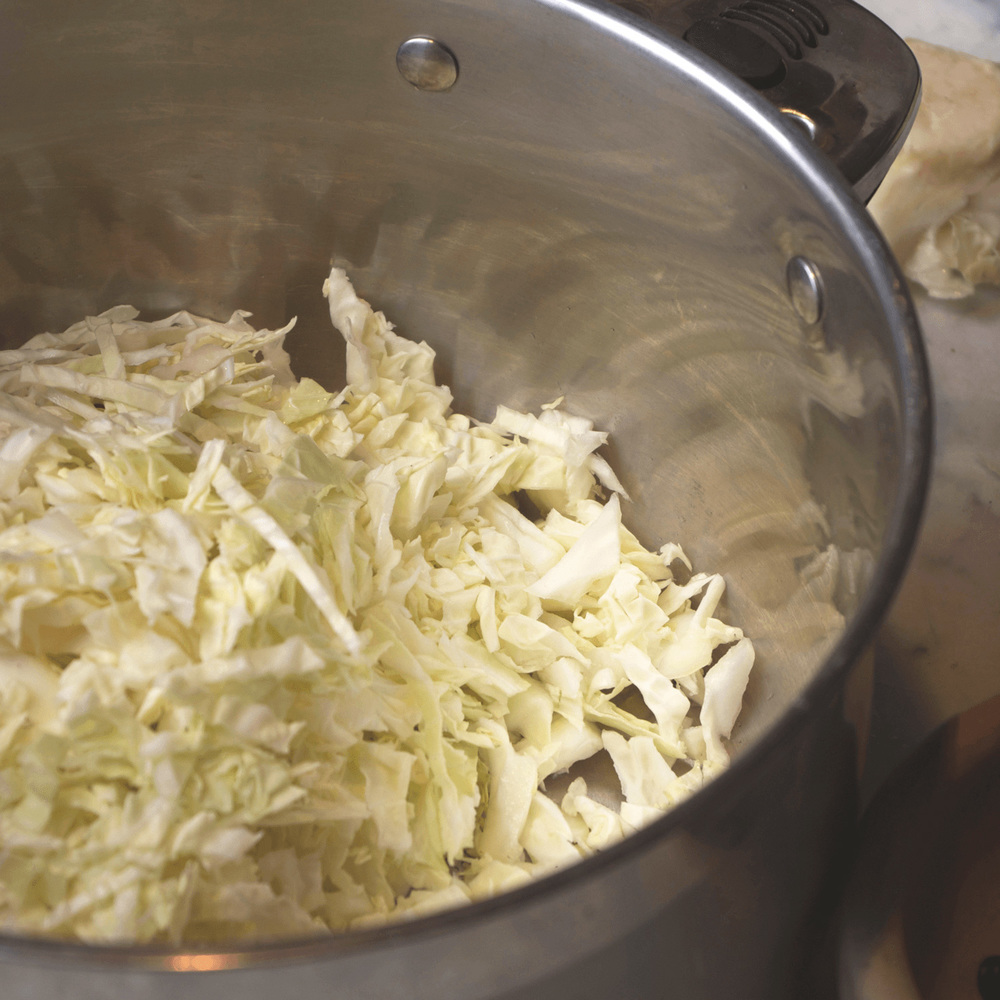
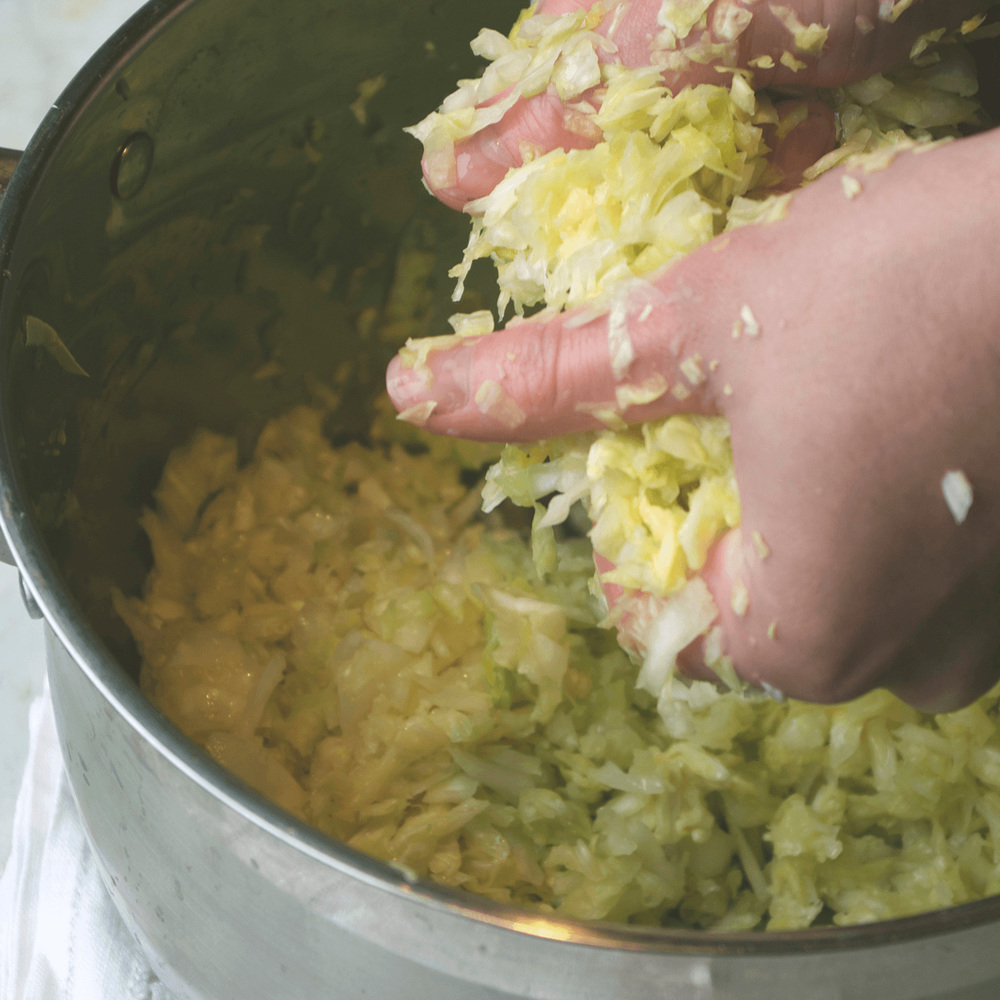
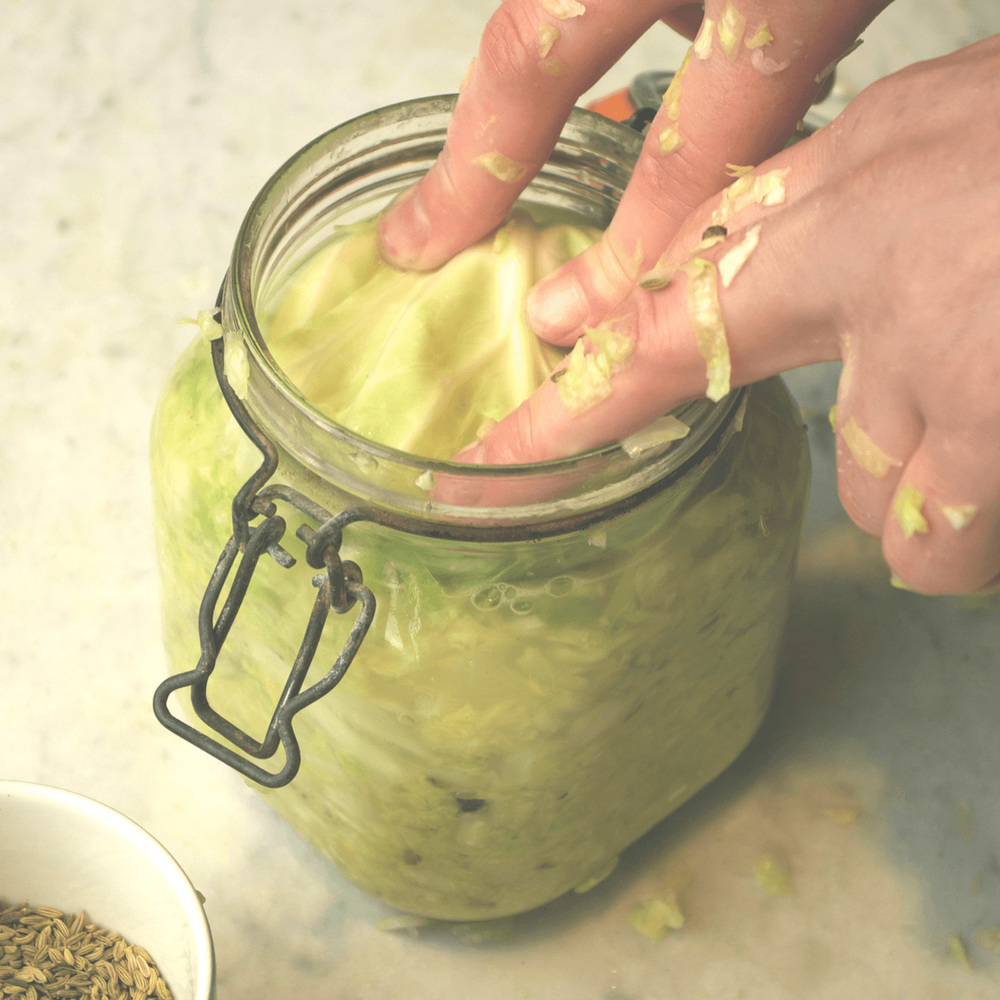
To Start: Cut the end off the cabbage and remove a couple of clean outer leaves. Keep them, you’ll need them later. Slice the cabbage up – smaller pieces are best and put it in a bowl (I used a stainless steel pan – aluminium is not good) and sprinkle with two teaspoons of salt. With clean hands start rubbing and squeezing the cabbage. You are aiming to bruise the cabbage so that, with the action of the salt, the cell walls break down and release the cabbage juices.
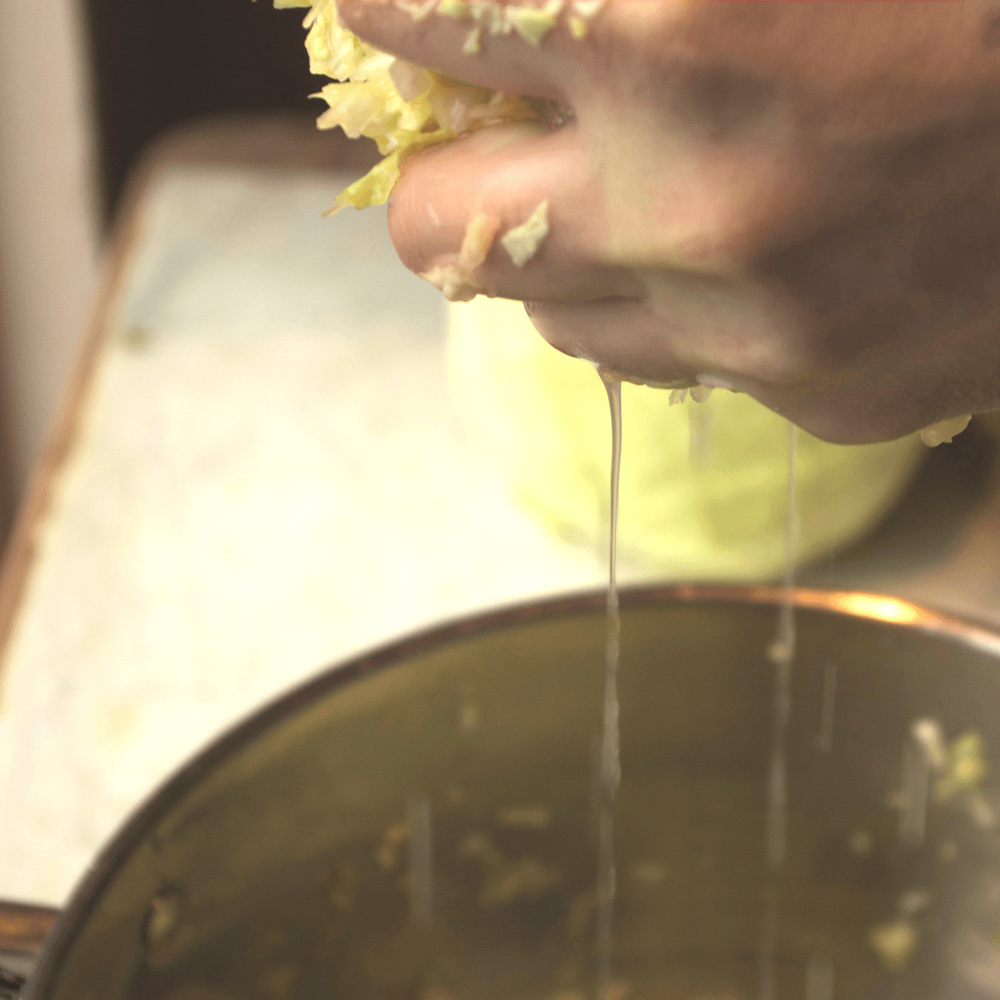
This takes a little while. It’s a great round the table social activity to do with friends and family. You’ll know you’re nearly there when you can easily squeeze the juice from a handful of cabbage. Add in caraway or other seeds to flavor. Caraway is the traditional Bavarian sauerkraut flavor but some people (my husband included) are put off by caraway – so try another flavour like coriander, juniper, ginger, cumin, black pepper, aniseed, what ever you fancy.
Have a Taste
Your kraut should taste more salty than you’d usually eat but not unpalatable. Add more salt if not enough. If you don’t have enough salt in your kraut it will not stay crisp and crunchy.
Get Your Jars
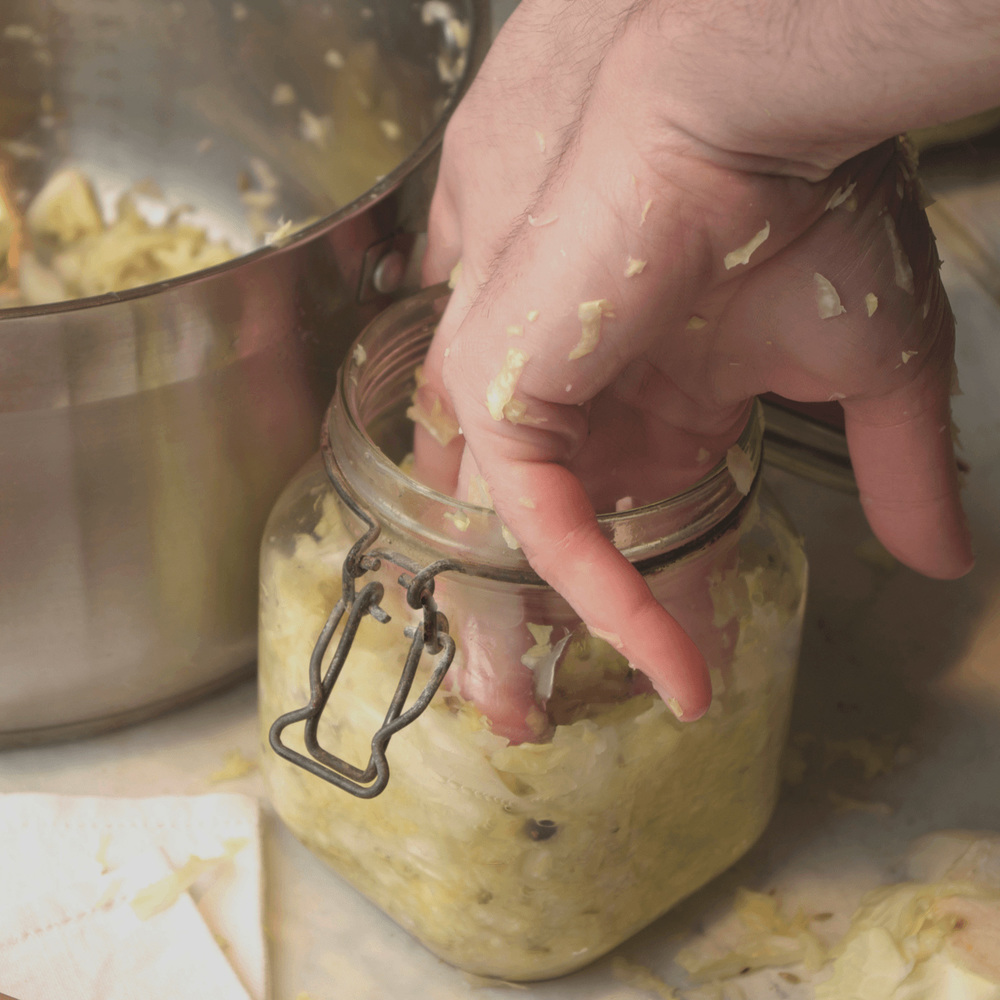
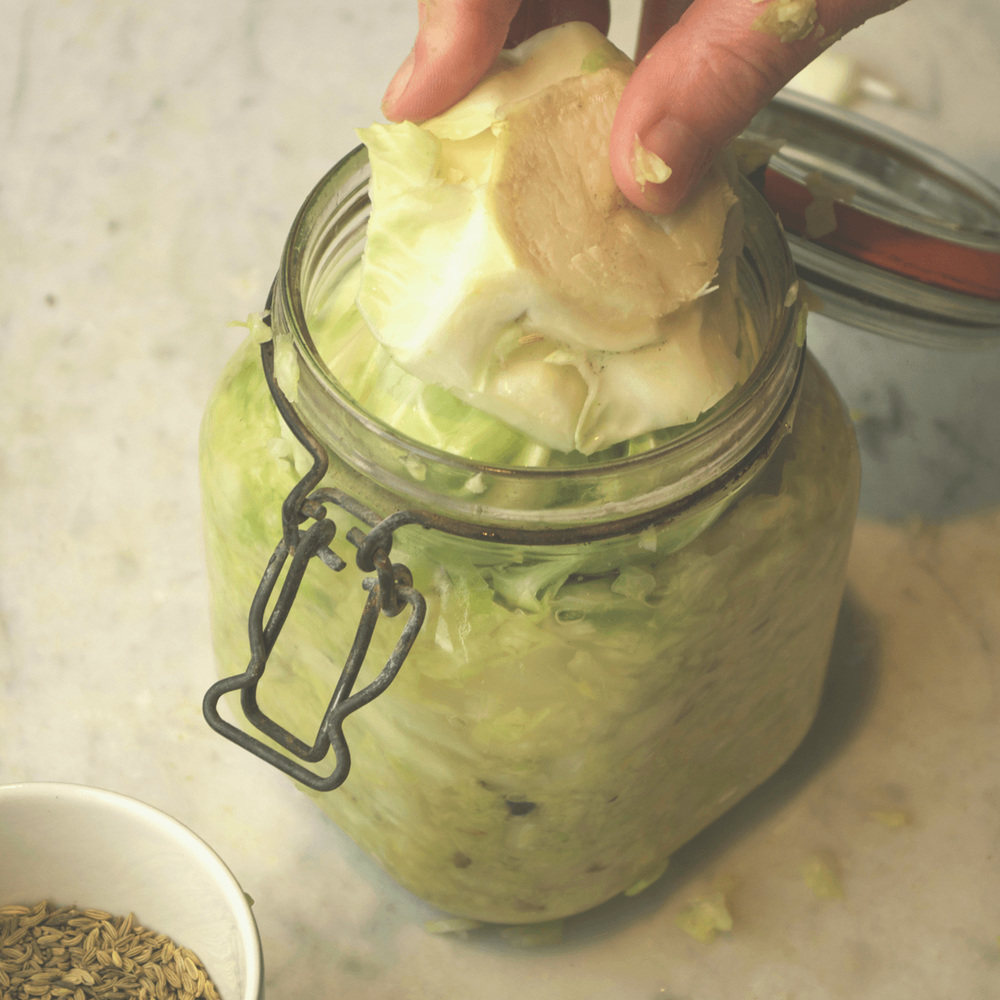
They need to be clean but don’t need to be sterile (like with jam preserving). Start pressing the cabbage into the jar, using the end of a rolling pin or similar if you can’t easily get your hands in. You are aiming to exclude all air pockets. The lacto-bactillus that turn your cabbage into kraut work in an environment without air. Air (oxygen) will spoil your kraut. Fill the jar to about an inch and half from the top. You will be reassured that you’ve done it right if, as you press that last bits of cabbage in the lovely light green juices lap over your finger tips. Now take a clean outer leaf and fold it to a shape that fits into the mouth of your jar. Press down. It’s going to act as a stopper to keep the cabbage under the juices. Trim the end of the cabbage you saved to fit the mouth of the jar and add this too as a second stopper. This wedge will keep the vegetables fermenting happily under the briney juices. Clip the lid down.
Find the Right Place to Put Your Kraut
I live in a house without central heating, but in the winter we have a wood fire going all the time. I put my jars on top of the fridge, where there is a little warmth coming through the vent, in a dark corner of the kitchen. You need a relatively warm place for the bacterial action to get going, and a place out of direct sunlight that might encourage bad bacterial action (or cover with a tea towel if its very bright on your fridge). Too warm a place (next to a radiator) and the bacterial action will be too quick. Put the jar in a bowl – you’ll understand why tomorrow.
Next Day
Check your kraut daily, especially if you’ve used a jam jar with a tight lid. Inside your jar the cabbage has started fermenting and it is producing carbon di-oxide which bubbles up and wants to get out. The force of the gas will propel some of the kraut liquid out of the jar (hence the bowl to catch it). Open the jar and press down on the cabbage end and you’ll release more of the gas – you’ll see it bubbling). Once the gas is released the liquid will fill in the spaces left by the bubbles keeping all your kraut covered. You don’t want air pockets to develop in your kraut – that’s why you pressed the cabbage in the jar firmly.
When’s it Ready?
That depends – on the temperature of your kitchen, the season and the amount of salt you used. Your kraut will bubble away merrily for 4 or 5 days or up to a week or so. When it stops bubbling the first phase of fermentation is complete. Check there is still enough liquid in the jar and top up with a little boiled, cooled salty water if not. In the cooler months I leave my jars in the same place to carry on fermenting for at least another week to ten days. In the summer when its warmer I move them to a cooler pantry.
Taste
The best way to tell if your krauts are ready is to taste them. Everyone has different tastes and your kraut is ready when you like it. The longer you leave your kraut the more beneficial bacteria will develop (some say a couple of months is best) but I reckon a kraut on the table is worth two in the pantry. Once you have started a jar it's probably best to keep it in the fridge. Reducing the temperature halts the fermentation and keeps your kraut the way you like it. It will keep in the fridge indefinitely.
So What Next?
You finished your kraut. Get started on the next batch – and it's time to experiment. You can add all sorts of vegetables, herbs and spices to your kraut and get jars of goodness unique to your household and utterly delicious. Then there are the ones that don’t work! Chuck them – and anything with mold on it -until you know your molds and are happy to scrape and serve like an aficionado. Welcome to the alchemic world of fermenting.
Check our classes page to get information about introductory workshops at our bakery and training space in Somerset.